
Saturday, January 31, 2009
February Flower Of The Month
I am proud to announce the Flower Of The Month (hence forth called FOTM) is the Iris. I love the iris don't you? It has large beautiful petals and brings back memories for me of my Mom's garden in California. The set was drawn by artist Brooke Smith and is now available in the online store www.TheStampingStudio.com in the "Rubber Stamps Flower/Foliage", and "FOTM" sections. Keep scrolling down to see some beautiful samples Design Team Member Suzanne Milam created. Then come back tomorrow for Design Team Member Dina Gerners samples.


Thursday, January 29, 2009
Unveiling FOTM on Saturday!
I just realized that we will have the unveiling of the February Flower Of The Month in a few days. Yea! Check back here on Saturday to see the new FOTM... I think you are going to like it.
Wednesday, January 28, 2009
3D Paper Heart Tutorial
Hey stampers and scrappers,
Here is the tutorial I promised you on how to create your own 3D Paper Hearts. They are super fun to make and easy cheesy! Let's go....
 You will need various pattern papers, I like cardstock weight the best and am using BasicGrey Eva collection 6x6 pad.
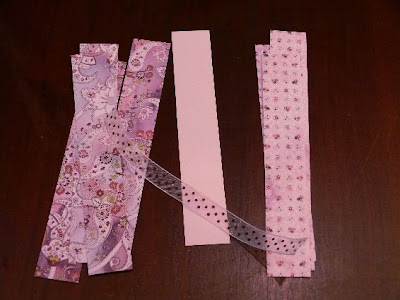 Cut the 6 inch paper into 1" strips. You will need a total of 9 strips. I am making one side of my heart in one pattern, and the other side in a different pattern paper so I have 4 of each pattern and then one pink strip that will go in the middle. When you make this for the first time you may want to use just one pattern.
 Stack all of the strips together nice and neat and then punch a small hole at one end. This hole is for a brad to slip through so you do want it small... I am using the smallest punch on the Crop-a-dile. The Crop-a-dile cuts through all these layers like "butta baby!"
 Here is what that should look like.
 We are going to use clock references here so you can understand what I am talking about. (No digital will not work!) Take 4 of the strips and lay then at 12:00 with the hole at the bottom. These need to be pattern side up.
 Slip a brad through those strips, pokey sides up.
 Take the middle strip (does not matter what pattern and can either be pattern side up or down) and place it at 6:00.
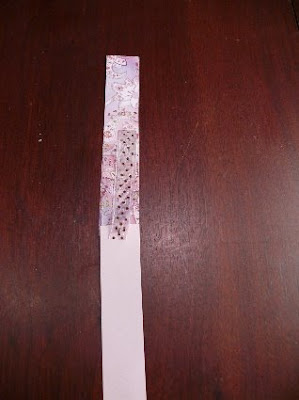 Now take a length of sheer ribbon and place it over your brad with the loop side up at 12:00. You can really use any kind of ribbon but the sheer ribbon is easiest to stab onto the brad.
 Now take the 4 other strips with their pattern side down and place them on the brad at 12:00. You should have only one strip at 6:00 at this point with it being in the middle of the sandwich.
 Now you can close up your brad.
 Now take your strip sandwich and hold it as shown, by the middle strip at 6:00 with all the others at 12:00.
 Pull one of the strips down to the middle.
  Do the same with the other side and you will have the beginnings of your heart! The size of this inside heart will effect the overall size of your finished project. So if you want this to be small, then make this inside heart very small by pulling down the ends to make it smaller.
 Do the same thing with the next two strips and on and on with the remaining strips.
 Your ends will look something like this. If yours looks like this you are doing it right!
 Then you are going to punch another small hole through all the layers right above the top layer.
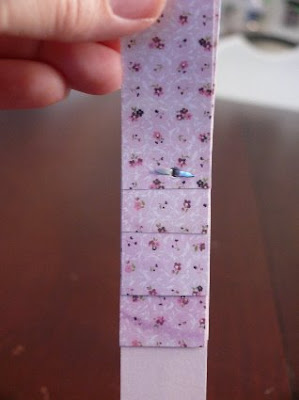 Then attach your brad. Oops!... mine is a little off-center. Kinda like me. Ha!
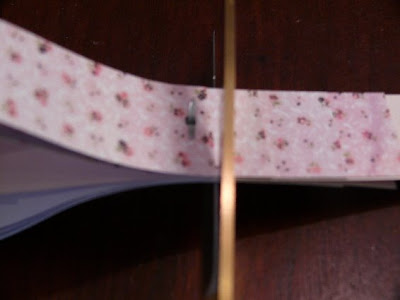 Then you will trim off the ends just below the top strip, right below the brad you just attached.
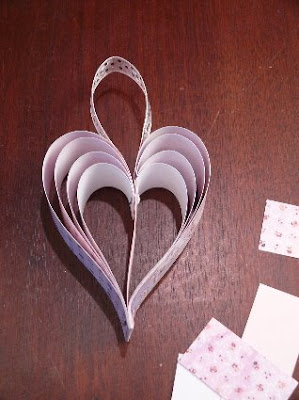 Whala! You finished paper heart. Mine looks a little "wanky" but if you fiddle with it you can straighten it out.
 I just think these are so cute and could see them hanging from a light fixer, mantle, gift bag, etc...
 To embellish this further stamp one of our "Mini Rounder" sayings onto pattern paper.
 Then punch out using a 1" circle punch.
 I added a mini paper flower and brad to the inside.
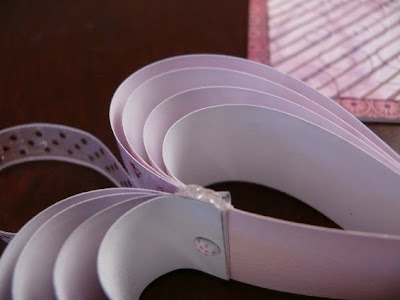 Place a glue dot at the center connecting point.
 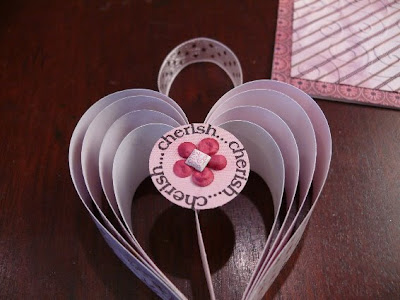 Then place your embellishment on top.
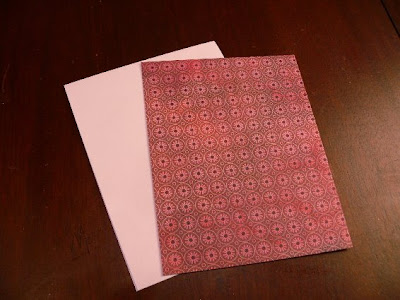 I am going to attach mine to a card. I am thinking of making these for my twins teachers.... a nice little fat free giftie. I started out with a white card and then added my pattern paper to it. I like to have a nice snow white card to write on inside.
 Stamp your saying on the lower right corner. I used the word "love" from the "Long Skinny Sentiments" stamp set.
 For some texture I ran this through my Cuttlebug machine inside an embossing folder.
 Here is the card.
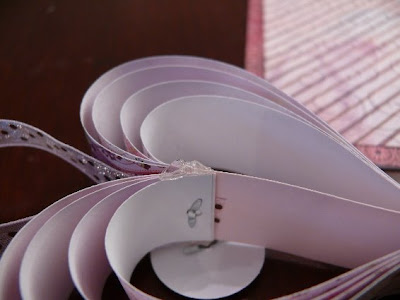
To attach it to the card flip over the heart and place another glue dot at the center connection point and place on your card. These cards where a big hit at the workshop on Saturday and the gals said they were easy to make, so why don't you try one?
Here is the tutorial I promised you on how to create your own 3D Paper Hearts. They are super fun to make and easy cheesy! Let's go....
To attach it to the card flip over the heart and place another glue dot at the center connection point and place on your card.
Monday, January 26, 2009
January Stamp Club Workshop
Hey everyone,
I finally remembered to take a few photo's of us at one of our Stamp Club Workshops. This is from this past Saturday. I think we had about 18 ladies and we had such a good time stamping, joking around, chatting and of course eating! We hope if you live in the area you will join us sometime. Our next workshop is February 28th, so mark your calendars!
 Judy, Carol, Carol, and Jan
 Jerri, Valerie, Angela, Pam and Fay in the "Rubber Room"
 Cynthia, Peggy, Cheryl, Cheryl, and Suzanne making the 3D heart cards.
 Cheryl has hers finished... so pretty!
 Erin did a great job on her "inside flapper card"... Judy is busy at work coloring.
I finally remembered to take a few photo's of us at one of our Stamp Club Workshops. This is from this past Saturday. I think we had about 18 ladies and we had such a good time stamping, joking around, chatting and of course eating! We hope if you live in the area you will join us sometime. Our next workshop is February 28th, so mark your calendars!
Sunday, January 25, 2009
Inside Flap Card
Happy Sunday everyone,
I am off to church in a few minutes but wanted to quickly post the 3rd card we made yesterday at the workshop, before I left. I know this card looks very similar to the grouping I made with the Snowdrop FOTM image but it is what is inside that is very different... a fun flap. I even punched a window in the flap so you could see through to the inside back of the card. I will post instructions on this card next week.


I am off to church in a few minutes but wanted to quickly post the 3rd card we made yesterday at the workshop, before I left. I know this card looks very similar to the grouping I made with the Snowdrop FOTM image but it is what is inside that is very different... a fun flap. I even punched a window in the flap so you could see through to the inside back of the card. I will post instructions on this card next week.
Subscribe to:
Posts (Atom)